Plus, I think it's easier and quicker this way. And, seriously, when I can make an infinity scarf, from start to finish, in less than an hour? That must be a good thing!
So, I'll just start from the beginning and repeat some of the previous post, but that's okay. You can go back and read the history if you want, but, basically, I wanted to make an Infinity Scarf with Anna Maria Horner's lahverly voiles, and couldn't find a tutorial that was a true Infinity ∞ Scarf. So I wrote one. :)
Materials:
1/4 yard of two coordinating fabrics, any material you like, really. If you want to have a solid scarf, then just use 1/2 yard cut.
*Note: the voiles happen to be 54" wide, so if you use something else, you will need to compensate for that! Which I think is just one more reason to use voiles!
A ton of pins
Thread
Hot Iron
Steps:
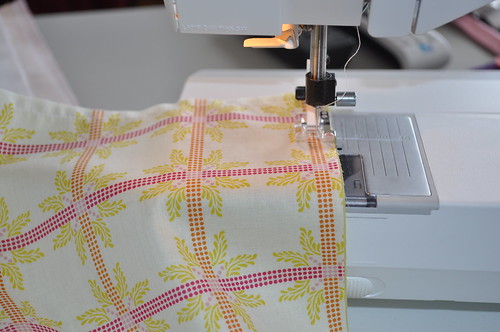
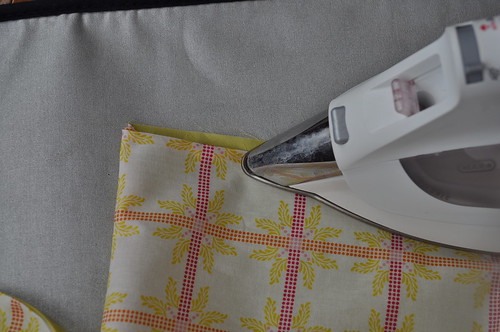
- Trim your voiles (I'm going to speak of voiles here because that's what I used and you should, too) so that they are identical in size and the edges are straight. It can be 9" wide, or 9 3/8" wide, or 8 7/16" wide, it doesn't matter. Just straight and identical.
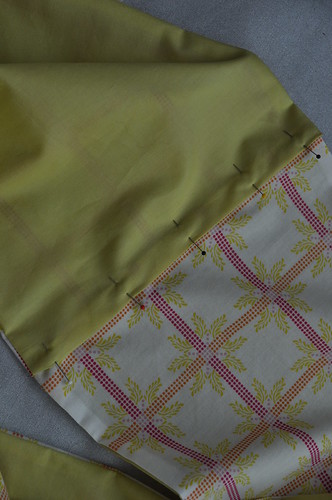
- Put right sides together and pin, pin, pin. It can be tough to find the right sides with voiles, but I found it doesn't really matter. These are slippery, so pinning now will make your sewing life SO much easier!
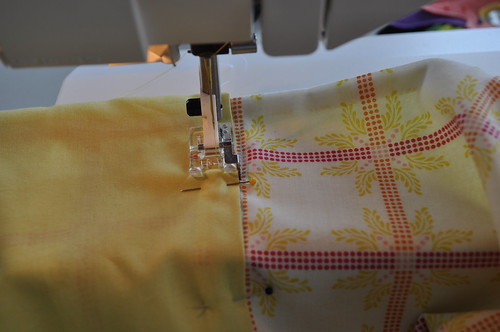
- Stitch (3/8"-ish seam) almost all the way around, but leave a 3-4" gap on one of the long sides near a short side. Clip the excess fabric at the corners, but not the stitches! :)
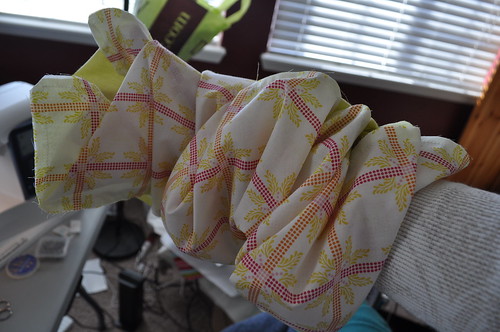
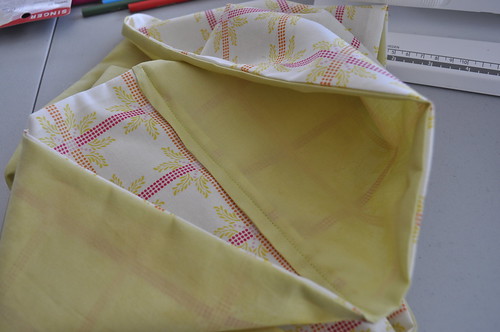
- Reach into the tube and reach all the way to the opposite short end.
Grab it and pull it up to the near short end. You will need to give it a
slight twist so that the white fabric from one short end touches the
green from the other short end. (This is SO hard to explain!!). In the picture below, you can see the inside, and how I've twisted it so that the white will actually touch the green.

You'll need to poke out the corners so they're as pointy and square as possible. Now, stuff the inside short end into the corners of the outside short end and pin. (in the picture above, they are stuffed together already.)
If you look closely, you can see through the voile and see that the next layer behind the green is the white print.

- Sew a second seam to attach those two short sides together.
- Pull the right side of the tube out through your gap, and straighten it as much as possible. You should be able to see your seam where the white fabric is stitched to the green, and on the reverse, the green is attached to the white. (Gosh. Maybe I need to try to do a video of this?) You can see the gap in the upper left-hand corner of this picture, and you can see my hidden seam. Well...you can't see my hidden seam, really. :)
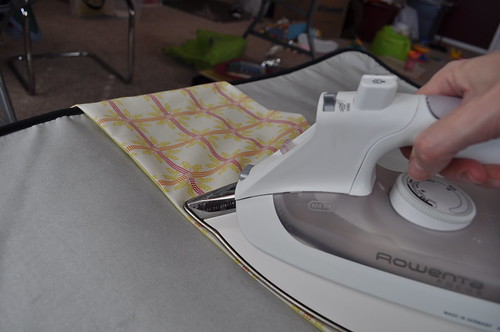
- Anyway, I took out my Best Press and pressed the seams all the way around. I just like to do that because it looks SO crisp! Plus, if it's for a gift, the Best Press gives it a nice fragrance.
- Hand-stitch your 3-4" gap closed, and admire your work!


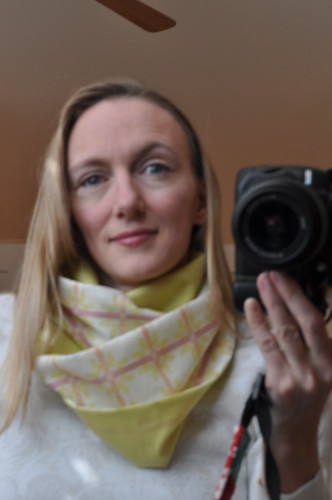
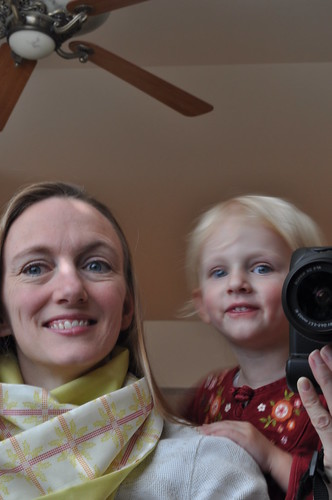
Now. You can wear it as one long loop,
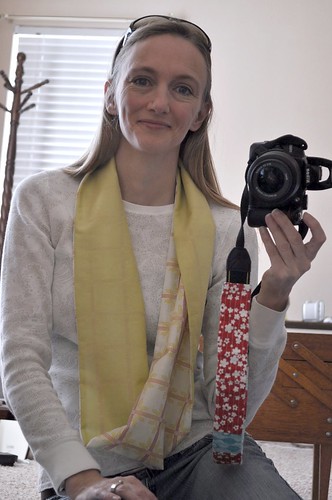
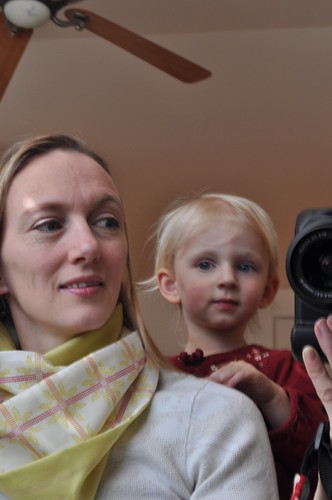
Or as a double loop close to your neck.
To make the double loop, put the scarf over your neck as one long loop, then pull the bottom and twist it once close to your neck. Now take that opening at the bottom, and put it over your head. Once both loops are around your neck, you can adjust as you need to.
Again, if you make this, let me know how it goes! :) And don't hesitate to ask if you have ANY questions.